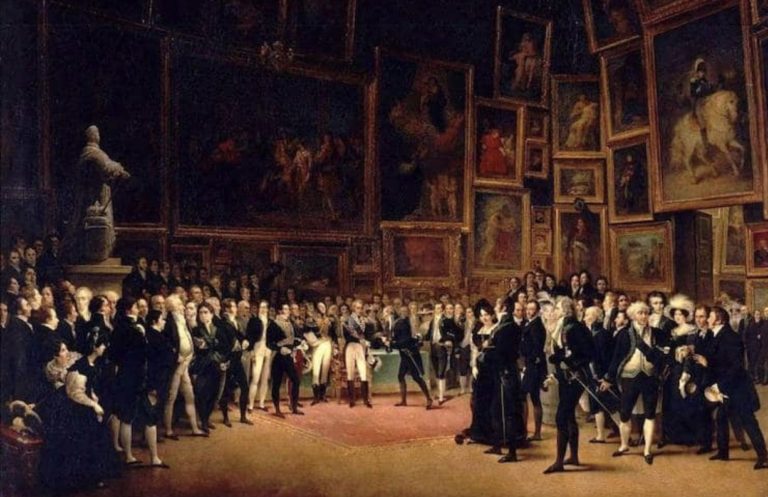
 Francois Joseph Heim, “Charles V. Distributing Awards to the Artists at the Close of the Salon of 1827” Wikimedia Commons, public domain
This extended time at home, in addition to allowing me to more fully appreciate the art on my walls, has given me a chance to gather and appreciate the art NOT YET on my walls. Many art collectors can relate to the concept of “so much art, so little wall space.” But there is a solution—The Salon Style Wall. Salon Style art hanging dates back to 1667 Paris. The Royal Academy wished to exhibit all the best works by their students and hung the paintings floor to ceiling thereby completely filling the wall. Salon Style hanging creates a group of works, placing together different sizes and mediums in a well curated mixture that reads to the viewer as one unique, wall-sized work of art.
Identify the Wall
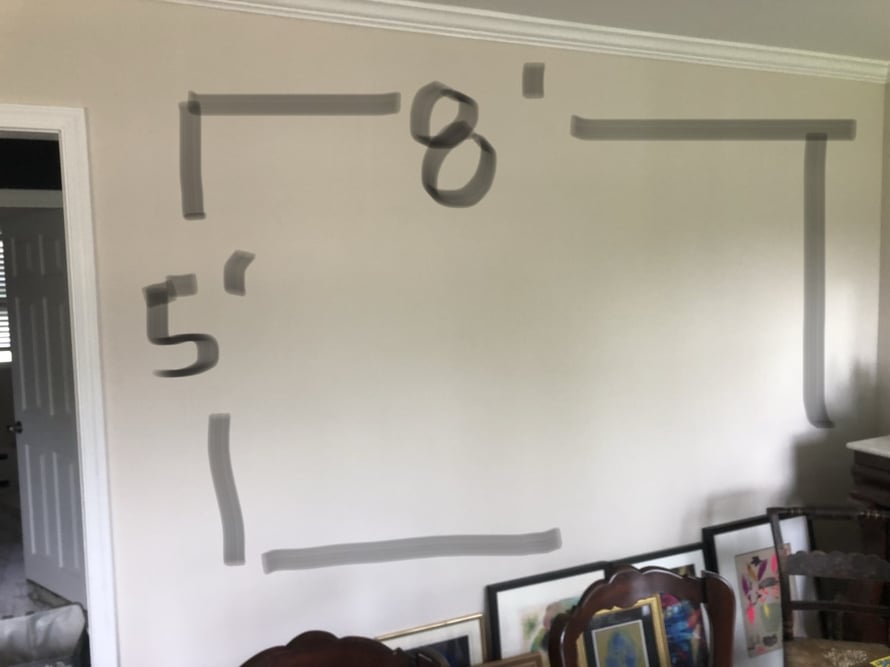
If you are like me, you have that one odd wall in your home. Not quite big enough to be grounded by a piece of furniture, wonky dimensions, strange placement in the room, etc., but desperately needing something creative to happen on it. This wall is in my dining room. It is across from a large diptych painting previously featured and purchased from an Alex Cooper auction.
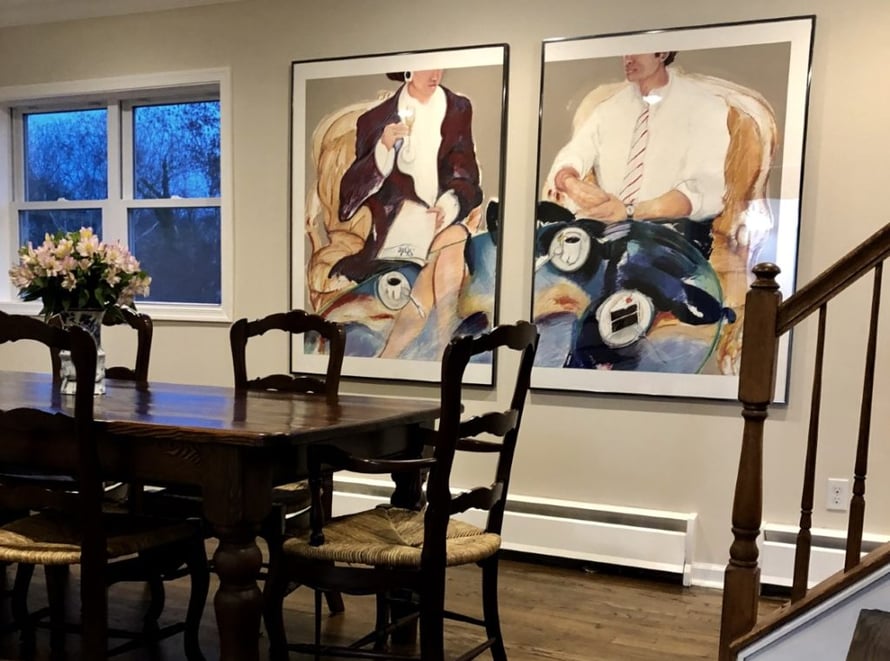
A Salon Style gallery wall will be a good companion to this statement piece as it sits opposite. You will need enough of a wall to really make a statement and I will be working with roughly an open space of 5’ x 8’.
Curate the Collection

I like to arrange a Salon Style wall with seemingly unsimilar works that are unified by a feature. For this wall, I am using pieces with black frames, mattes, or black in the work itself. As you can see, these works are very different, but unifying them with the black pulls the grouping together. These three pieces in the photo below are particular favorites as they feature pieces from our auctions with works from EJ Montgomery, Ina Helrich and Kiyoshi Nagai.
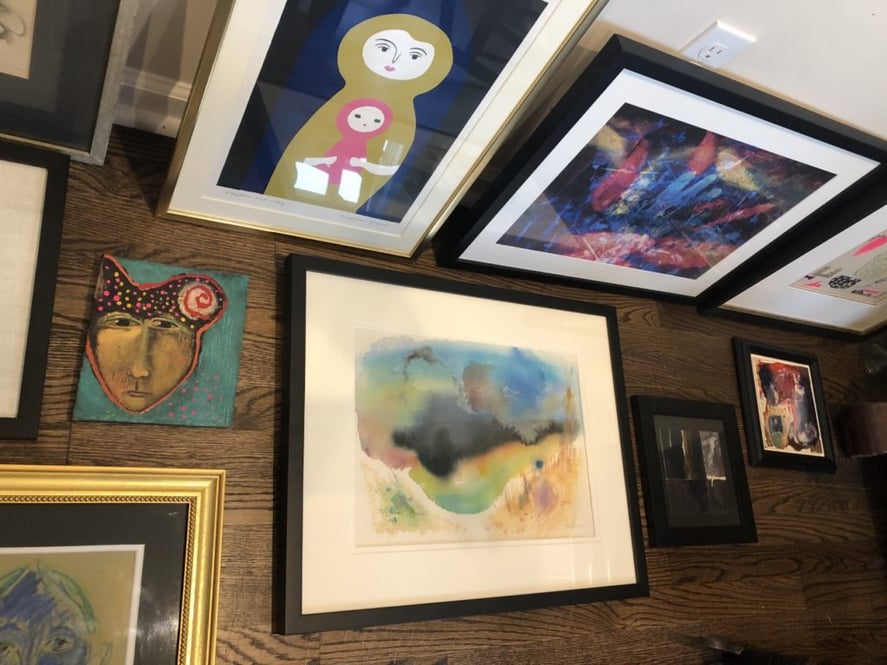
I like to take my time carefully moving all the pieces around and weeding out the ones that just don’t seem to “go.” When I am happy with the selection, it’s time to plan how they will be hung.
Hang the Art
Courtesy of Ella Seal
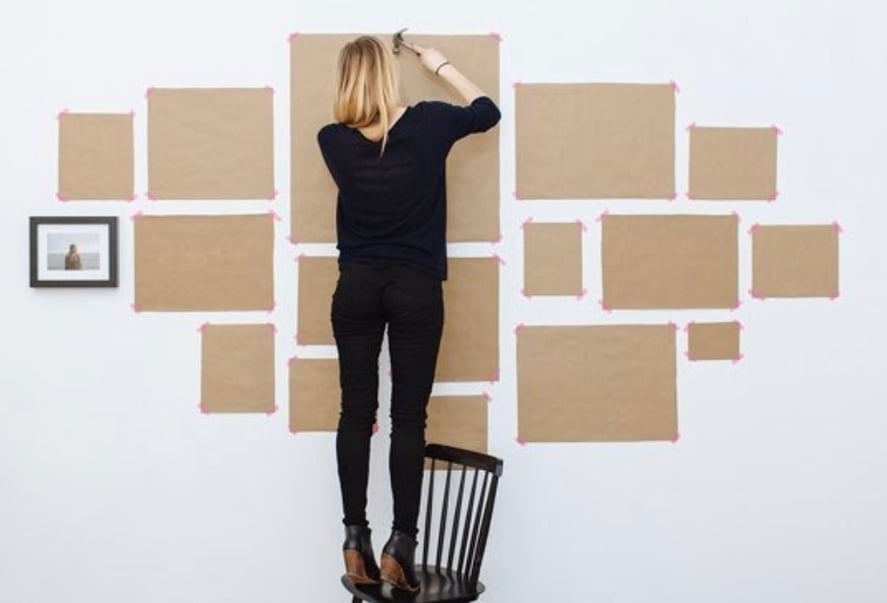
This can be approached a number of ways. One way is to lay all the pieces out and map the design out on the floor. For this I would mark off a 5’ x 8’ space on my floor and lay all the works out. Having the works all out in front of you allows the opportunity to move them around and edit without having to commit to a spot (and a nail) on the wall. Another trick is to cut out pieces of paper the same size as the works in your collection. Be sure to label the pieces of papers with the titles of the works they represent. Using painters tape you can move the paper art stand-ins to find a composition that you like. The final way, and the one that I prefer, is to begin with your largest pieces more or less in the center and to radiate out from there. The benefit of this centrally planned design is that it allows for more works to be added on all sides as your collection grows, and your number of walls does not.
Over the next few days I will be rearranging my collection and painting the wall for my Salon Style installation. On the next installment we will review composition choices and discuss hanging, measuring, spacing and supplies I like to use, and of course, the final wall revel. Check back for more!
Happy collecting!

Kathleen Hamill
Director, Modern & Contemporary Art
Fine Art Appraiser, USPAP
kathleen@alexcooper.com
410-336-2730 c